RemoteIoT VPC SSH on Raspberry Pi is a revolutionary way to manage and control your IoT devices from anywhere in the world. If you're looking to set up a secure and reliable connection for your Raspberry Pi running on Windows 10, this guide is exactly what you need. By the end of this article, you'll have a comprehensive understanding of how to configure and optimize your setup for maximum performance and security.
Setting up a Virtual Private Cloud (VPC) with SSH access can seem daunting at first, especially for those who are new to networking and IoT. However, with the right steps and tools, anyone can master this process. This article will walk you through every step, ensuring that you're equipped with the knowledge to make the most out of your Raspberry Pi.
Whether you're a hobbyist or a professional, understanding how to connect your Raspberry Pi to a remote VPC via SSH is an essential skill. This setup allows you to access your device securely, manage files, and run applications from anywhere, provided you have an internet connection. Let’s dive in and explore the possibilities.
Read also:Exploring The Rise And Impact Of Ullu Web Series India
Table of Contents
- Introduction to RemoteIoT VPC SSH
- Overview of Raspberry Pi
- Setting Up Windows 10 on Raspberry Pi
- Configuring VPC for RemoteIoT
- Setting Up SSH Access
- Understanding RemoteIoT
- Security Measures for Your Setup
- Troubleshooting Common Issues
- Performance Optimization Tips
- Conclusion and Next Steps
Introduction to RemoteIoT VPC SSH
RemoteIoT VPC SSH refers to the process of connecting your Raspberry Pi to a remote server using a Virtual Private Cloud (VPC) and Secure Shell (SSH). This setup enables you to access your Raspberry Pi securely from anywhere, making it ideal for managing IoT devices, running applications, and transferring files.
For those unfamiliar with the term, VPC stands for Virtual Private Cloud, a private network dedicated to your cloud resources. By setting up a VPC, you create a secure environment where your Raspberry Pi can operate without being exposed to public networks. SSH, on the other hand, is a cryptographic network protocol that ensures secure communication between your local machine and the Raspberry Pi.
Combining these technologies with the power of Raspberry Pi opens up endless possibilities for remote management and automation. In the following sections, we'll explore how to set up this configuration step by step.
Overview of Raspberry Pi
Raspberry Pi is a series of small single-board computers developed by the Raspberry Pi Foundation. These devices are incredibly versatile and are widely used for educational purposes, home automation, and professional applications. The latest models of Raspberry Pi come equipped with powerful processors, ample RAM, and support for various operating systems, including Windows 10 IoT Core.
Key Features of Raspberry Pi
- Compact and lightweight design
- Support for multiple operating systems
- Rich GPIO interface for connecting peripherals
- Low power consumption
- Active community support and extensive documentation
Before proceeding with the setup, ensure that you have the necessary hardware and software components. This includes a Raspberry Pi board, a microSD card, a power supply, and the latest version of Windows 10 IoT Core.
Setting Up Windows 10 on Raspberry Pi
Installing Windows 10 IoT Core on your Raspberry Pi is a straightforward process. Begin by downloading the official Windows 10 IoT Core Dashboard from the Microsoft website. This tool simplifies the installation process by allowing you to flash the operating system directly onto your microSD card.
Read also:Martin Henderson Face Work A Comprehensive Exploration Of His Career And Transformation
Steps to Install Windows 10 IoT Core
- Download the Windows 10 IoT Core Dashboard from the Microsoft website.
- Insert a microSD card into your computer and launch the dashboard.
- Select your device type (Raspberry Pi) and choose the appropriate image.
- Follow the on-screen instructions to flash the image onto the microSD card.
- Insert the microSD card into your Raspberry Pi and power it on.
Once the installation is complete, your Raspberry Pi will boot into Windows 10 IoT Core. From here, you can begin configuring your device for remote access.
Configuring VPC for RemoteIoT
Setting up a Virtual Private Cloud (VPC) is crucial for securing your Raspberry Pi and ensuring that it operates in a private network. This step involves creating a VPC on a cloud provider such as AWS or Azure and configuring the necessary security groups and access rules.
Steps to Configure VPC
- Sign up for a cloud provider account (e.g., AWS or Azure).
- Create a new VPC and specify the CIDR block range.
- Set up subnets for your VPC, ensuring they are placed in different availability zones.
- Configure security groups to allow SSH access from your IP address.
- Assign an Elastic IP address to your Raspberry Pi for consistent access.
By following these steps, you create a secure and stable environment for your Raspberry Pi to operate within. This setup ensures that only authorized users can access your device, minimizing the risk of unauthorized access.
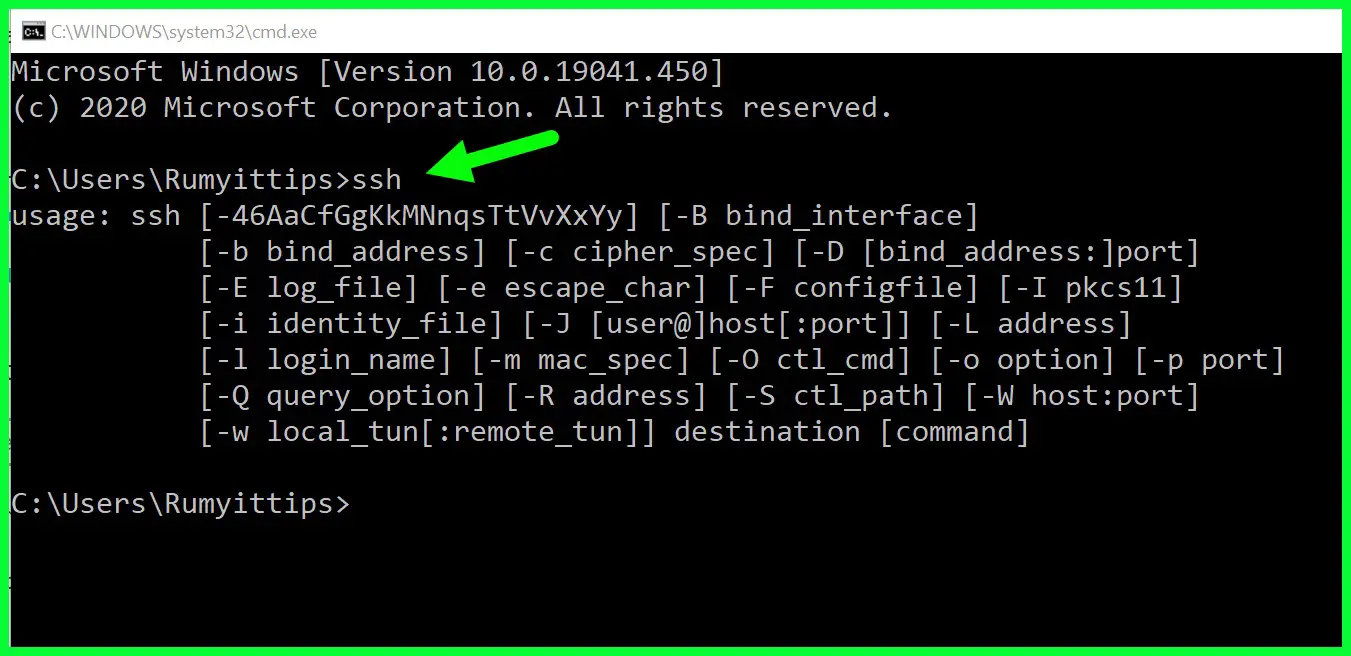
Setting Up SSH Access
SSH (Secure Shell) is a protocol that provides secure communication between your local machine and the Raspberry Pi. Enabling SSH on your Raspberry Pi allows you to access it remotely, manage files, and run commands securely.
Enabling SSH on Raspberry Pi
- Connect to your Raspberry Pi via a local network or directly using a monitor and keyboard.
- Open the Command Prompt or PowerShell and type "ssh pi@
" to connect. - Enter the default password (usually "raspberry") and change it immediately for security purposes.
- Generate an SSH key pair on your local machine and copy the public key to your Raspberry Pi.
With SSH enabled, you can now access your Raspberry Pi from anywhere in the world, provided it is connected to the internet and properly configured within your VPC.
Understanding RemoteIoT
RemoteIoT refers to the practice of managing and controlling IoT devices remotely. By combining Raspberry Pi, VPC, and SSH, you can create a robust system for monitoring and automating various tasks. This setup is particularly useful for applications such as home automation, environmental monitoring, and industrial control systems.
Benefits of RemoteIoT
- Centralized management of multiple IoT devices
- Real-time data collection and analysis
- Automation of repetitive tasks
- Improved security through encrypted connections
- Scalability to accommodate growing needs
As the Internet of Things continues to expand, the ability to manage devices remotely becomes increasingly important. Understanding the principles of RemoteIoT empowers you to take full advantage of this technology.
Security Measures for Your Setup
Security should always be a top priority when setting up remote access to your Raspberry Pi. By implementing the following best practices, you can protect your device from unauthorized access and potential threats.
Best Practices for Securing Your Raspberry Pi
- Use strong, unique passwords and enable two-factor authentication.
- Regularly update your operating system and installed software.
- Limit SSH access to trusted IP addresses using firewall rules.
- Disable unnecessary services and close unused ports.
- Monitor system logs for suspicious activity and respond promptly to any threats.
By adhering to these security measures, you ensure that your Raspberry Pi remains safe and secure, even when accessed remotely.
Troubleshooting Common Issues
Even with careful planning and execution, issues can arise during the setup process. Below are some common problems and their solutions:
Common Issues and Solutions
- Unable to Connect via SSH: Verify that SSH is enabled and check your network settings.
- Slow Network Performance: Optimize your VPC configuration and ensure adequate bandwidth.
- Device Not Booting: Check the microSD card for errors and reflash the operating system if necessary.
- Security Alerts: Investigate system logs and update security settings as needed.
If you encounter any issues not covered here, consult the official Raspberry Pi documentation or seek help from the active community forums.
Performance Optimization Tips
Optimizing the performance of your Raspberry Pi is essential for ensuring smooth operation and maximizing its capabilities. Below are some tips to help you get the most out of your device:
Tips for Optimizing Performance
- Use a high-quality power supply to avoid voltage drops.
- Install lightweight applications and services to reduce resource usage.
- Regularly clean up unnecessary files and free up storage space.
- Enable swap space to improve memory management.
- Monitor system performance using tools like htop or glances.
By following these tips, you can enhance the performance of your Raspberry Pi and ensure that it operates efficiently under various conditions.
Conclusion and Next Steps
In conclusion, setting up a RemoteIoT VPC SSH configuration on your Raspberry Pi with Windows 10 is a powerful way to manage and control your IoT devices remotely. By following the steps outlined in this article, you can create a secure and reliable setup that meets your specific needs.
We encourage you to take action by implementing the tips and best practices discussed. Leave a comment below if you have any questions or share this article with others who may find it useful. For further reading, explore our other articles on IoT, networking, and Raspberry Pi projects.